


This tutorial shows how to integrate NSwag (Swagger toolchain for .NET) so that you can access your Web API actions with the Swagger UI and a generated C# client library.
The toolchain can be integrated into the following three types of Web API projects:
- Global.asax-based Web projects (full .NET Framework)
- OWIN-based Web projects (full .NET Framework)
- ASP.NET Core based projects (full .NET Framework or .NET Core)
For each project, the integration is a little bit different, but this tutorial will provide links to all supported ways. Just follow the steps.
1. Create and setup a new Web API project
First we implement your Web API project:
- Open Visual Studio and create a new Web API project (either Global.asax-, OWIN- or ASP.NET Core-based).
- Register the NSwag Swagger middlewares:
- Global.asax: Register the OWIN Middlewares in your Global.asax.
- OWIN and ASP.NET Core: Register the OWIN or ASP.NET Core Middlewares in your Startup.cs.
- (optional) Globally register the Web API exception serialization filter
2. Run the Web API project
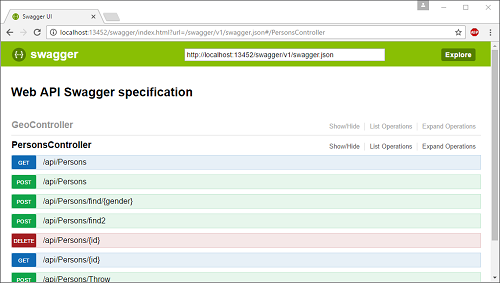
Run the project and navigate to the URL http://yourserver/swagger: Here you should see the Swagger UI.
Try calling your Web API actions and check the results.
3. Generate client code to access the Web API
The next steps show how to generate a client library to access the Web API actions in the Web project. In this tutorial we use the C# client generator (there is also a TypeScript client generator).
Setup tooling and create client project:
- Install NSwagStudio.
- Create a new C# library project in your solution (the service client library).
- Add the required assembly dependencies to the library project.
Generate code:
- Start NSwagStudio and select “Swagger Specification” as input.
- Enter the Swagger specification URL (default:
http://yourserver/swagger/v1/swagger.json, the server must be running). - Click “Generate Outputs” and select the tab “CSharpClient”.
- Copy the source code into your client project.
- Now you should change generator settings in the NSwagStudio to improve and customize the generated code (e.g. define the correct namespace, etc.).

Automate script generation:
- Save the
.nswagfile in NSwagStudio - Open a command prompt and
cdto the directory with the.nswagfile - Run
nswag runto execute all.nswagfiles (the NSwag command line tool is automatically registered by the MSI installer)
4. Have fun
Now that you have seen a way to integrate NSwag into your project, start having fun with NSwag!
But there is always more: Other ways to integrate and automate NSwag
Rico Suter
SOFTWARE ENGINEERING
EDIT
.NET .NET Core ASP.NET Code Generation NSwag Swagger Swagger UI Web API