


The starting point of this guide is a GitHub repository with some SDK-style .NET projects for which you want to enable CI/CD builds to automatically run tests, build packages and push them to a preview or NuGet.org package feed.
I created this setup and versioning flow for my new library Namotion.Reflection and will describe it in this article. You can copy the pipeline YAML file and directly use it in your own repository.
The preview and release flow
- The repository is using GitHub flow and thus the lastest releasable version is on the
masterbranch. - Package version numbers are managed in the in the repository in the
.csprojfiles. - Builds on
mastercreate preview packages with the versionx.y.(z+1)-build.xxxso that the version is always greater than the latest published version (the current versionx.y.zin the repository) and always lower then the next published version (the next released version will be at least versionx.y.(z+1)but without preview tag and thus greater thanx.y.(z+1)-build.xxx). - When we release a new version, then we update the versions of the changed packages on
master(commit nameRelease vx.y.z) and merge into thereleasebranch to trigger a non-preview build and push the packages to nuget.org. - (Another option would be to not merge to the
releasebranch but tag the commitRelease vx.y.zwithvx.y.zand trigger a release this way.)
1. Enable package build in your SDK-style .NET projects
First we need to enable package builds for all projects which should produce packages.
For this, open your solution in Visual Studio and enable “Generate NuGet package on build” on all projects you want to automatically deploy to the package feeds:

Alternatively you can also enable this in the .csproj file directly by adding a GeneratePackageOnBuild tag:
<Project Sdk="Microsoft.NET.Sdk">
  <PropertyGroup>
    <TargetFrameworks>netstandard1.0;netstandard2.0;net40;net45</TargetFrameworks>
    <Version>0.1.0</Version>
    <GeneratePackageOnBuild>true</GeneratePackageOnBuild>
    <GenerateDocumentationFile>true</GenerateDocumentationFile>
  </PropertyGroup>
  ...
Also consider adding the GenerateDocumentationFile attribute so that the XML documentation is included in the package.
2. Add an azure-pipelines.yml file to your repository
The next step is to add an azure-pipelines.yml file which is later picked up by the Azure DevOps build pipeline to build, test and publish the NuGet packages - the complete YAML file can be found here. The head of the build file looks like this:
trigger:
  branches:
      include:
      - master
      - release
pr:
- master

pool:
  vmImage: 'windows-2019'

variables:
  BuildConfiguration: Release
  Projects: '**/*.csproj'

steps:
...
The build will trigger on the master and release branches and on all PRs merging into master.
The specified vmImage is windows-2019 (with Visual Studio) because the Namotion.Reflection projects use multiple target frameworks and one of them is the full .NET Framework (netfx, Windows-only). If your projects only use .NET Core or .NET Standard target frameworks you should be able to build on Ubuntu with ubuntu-latest image. You can find a list of all available vmImages here.
Now, let’s look at the required pipeline steps.
Install required SDKs and tools
In the first steps we install the required SDKs and tools which are used later:
- .NET Core 2.2 is needed to build the solution and to use the DNT tool
- The DNT (DotNetTools) CLI tool is used to patch the project versions later
- task: UseDotNet@2
  displayName: 'Install .NET Core SDK'
  inputs:
    packageType: 'sdk'
    version: '2.2.203'
- task: CmdLine@2
  displayName: 'Install DNT'
  condition: and(succeeded(), eq(variables['Build.SourceBranch'], 'refs/heads/master'))
  inputs:
    script: 'npm i -g dotnettools'
Patch project versions
If the build is running on the master branch, we increase the project patch version (0.1.0 => 0.1.1) and add a a build suffix (0.1.1 => 0.1.1-build.20190518.35). This is needed so that the package versions in the preview NuGet feed are unique even without changing the versions in the .csproj files.
- task: UseDotNet@2
  displayName: 'Install .NET Core SDK'
  inputs:
    packageType: 'sdk'
    version: '2.2.203'
- task: CmdLine@2
  displayName: 'Install DNT'
  condition: and(succeeded(), eq(variables['Build.SourceBranch'], 'refs/heads/master'))
  inputs:
    script: 'npm i -g dotnettools'
- task: CmdLine@2
  displayName: 'Update project version patch'
  condition: and(succeeded(), eq(variables['Build.SourceBranch'], 'refs/heads/master'))
  inputs:
    script: 'dnt bump-versions patch'
    failOnStderr: true
- task: CmdLine@2
  displayName: 'Patch project version preview'
  condition: and(succeeded(), eq(variables['Build.SourceBranch'], 'refs/heads/master'))
  inputs:
    script: 'dnt bump-versions preview "$(Build.BuildNumber)"'
    failOnStderr: true
Build and test
In the following steps we build, test and create NuGet packages.
- task: DotNetCoreCLI@2
  displayName: 'Build solution'
  inputs:
    command: 'build'
    projects: '$(Projects)'
    arguments: '--configuration $(BuildConfiguration)'
    feedsToUse: 'select'
    versioningScheme: 'off'
- task: DotNetCoreCLI@2
  displayName: 'Run tests'
  inputs:
    command: 'test'
    projects: '$(Projects)'
    arguments: '--configuration $(BuildConfiguration) --collect "Code Coverage"'
    publishTestResults: true
    feedsToUse: 'select'
    versioningScheme: 'off'
The build step automatically creates packages because we enabled “Generate NuGet package on build” before. The --collect "Code Coverage" parameter in the test step enables test code coverage publishing but this might only work if the build agent has Visual Studio installed (i.e. a Windows build agent). To customize the code coverage execution, you can specify a .runsettings file (sample).
Pack and publish artifacts
The last steps copy the NuGet packages and publish them as build artifacts which are later picked up by a release pipeline and pushed to a package feed.
- task: CopyFiles@2
  displayName: 'Copy packages'
  condition: and(succeeded(), ne(variables['Build.Reason'], 'PullRequest'))
  inputs:
    Contents: '**/*.nupkg'
    TargetFolder: '$(Build.ArtifactStagingDirectory)'
    flattenFolders: true
- task: PublishBuildArtifacts@1
  displayName: 'Publish artifacts'
  condition: and(succeeded(), ne(variables['Build.Reason'], 'PullRequest'))
  inputs:
    PathtoPublish: '$(Build.ArtifactStagingDirectory)'
    ArtifactName: 'drop'
    publishLocation: 'Container'
3. Setup the build pipeline in Azure DevOps
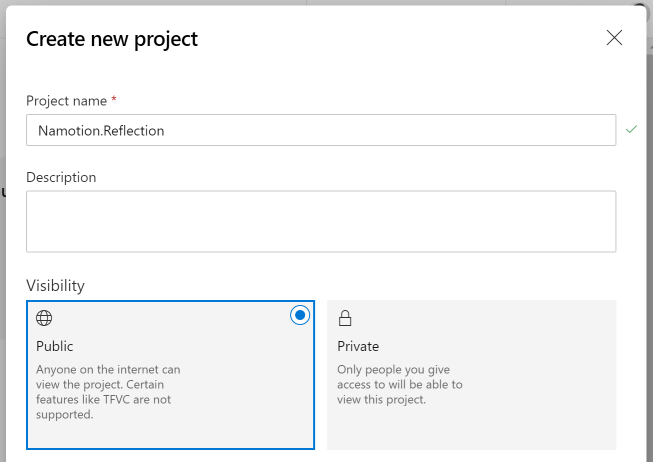
To actually use this build definition, we need to create an Azure DevOps project and then a new build pipeline. In your Azure DevOps dashboard, click on ”+ Create project”:
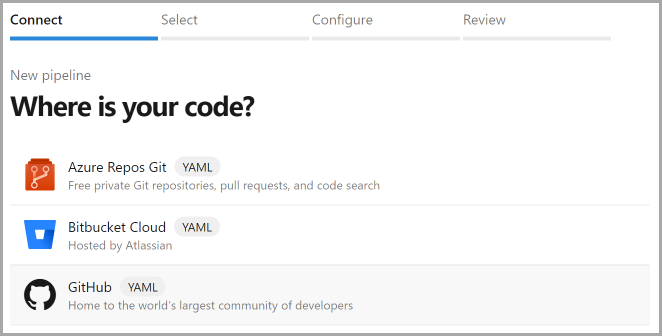
After creating the project, go to Pipelines / Builds, create a new build pipeline and select GitHub (yaml):
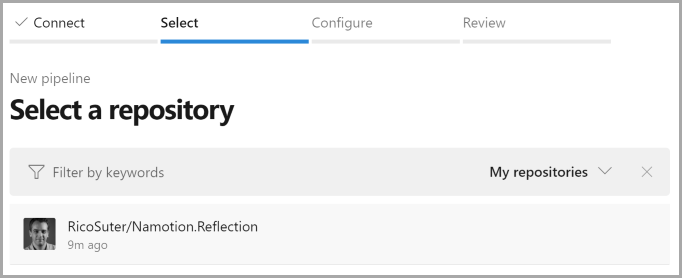
In the next step, select your GitHub repository and authenticate it:
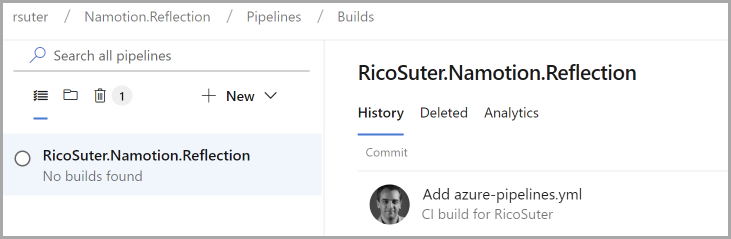
The “Review” step should automatically select your YAML build script from the repository and after clicking on “Run” the pipeline is created and the first build is started:
4. Setup the release pipelines for the CI and release branch
Now that the build pipeline is set up, we will create two release pipelines:
- Namotion.Reflection - Master: Publish preview packages from the
masterbranch to a preview NuGet feed. - Namotion.Reflection - Release: Publish release packages from the
releasebranch to the public NuGet.org feed.
Create release pipeline to publish to preview NuGet feed
- First go to Artifacts and create a new NuGet feed where preview packages should be pushed to:
- Then go to Pipelines / Releases, create a new release pipeline and select Empty job (no template).
- Use Push to preview feed as stage name.
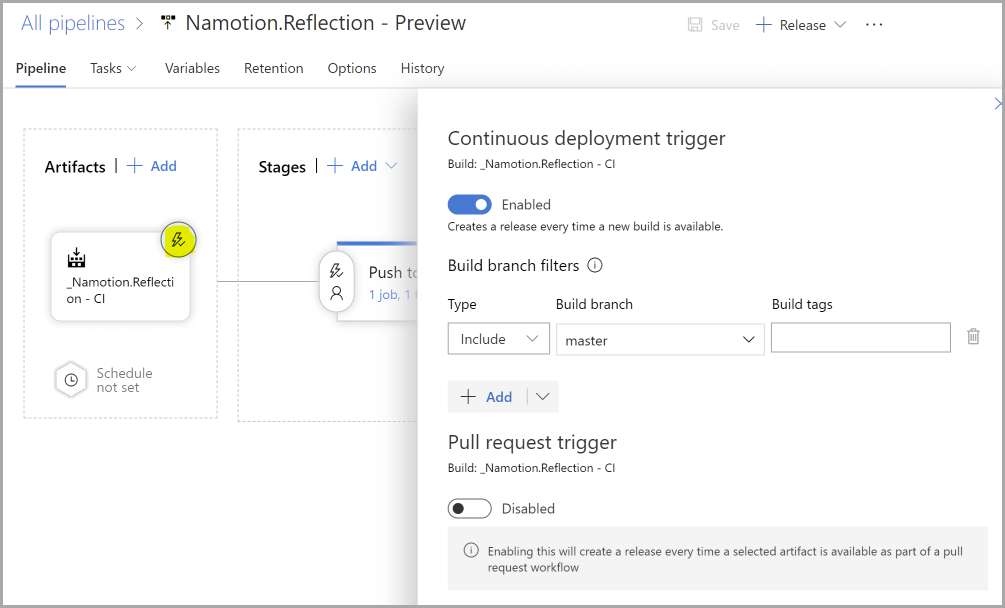
- Click on “+ Add an artifact” and select the build pipeline in the dialog.
- Click on the artifact trigger symbol and enable a continuous deployment trigger on the
masterbranch:
- Click on tasks and add a new .NET Core task with the following properties:
- Command:
nuget push - Path to NuGet package(s) to publish:
$(System.DefaultWorkingDirectory)/**/*.nupkg - Target feed location: Use “This organization/collection” and select your preview NuGet feed
- Command:
Create a release pipeline to NuGet.org feed
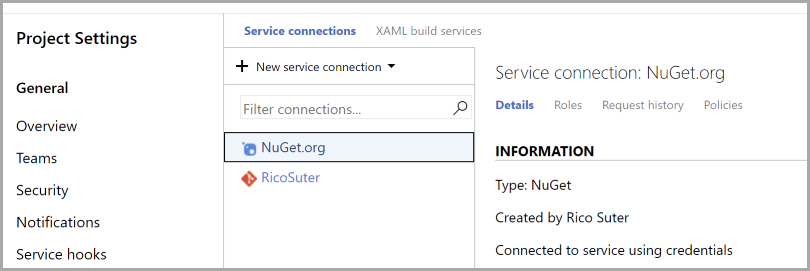
- In order to push packages to the public NuGet.org feed, we need to setup a new service connection in Azure Devops:
- Go to “Project settings” (bottom right)
- Select “Service Connections”
- Select “+ New service connection” and select “NuGet”
- Use “ApiKey” and fill in the missing fields:
- Connection name:
NuGet.org(must match the name in the build step) - Feed URL:
https://api.nuget.org/v3/index.json - ApiKey:
<your NuGet.org push API key> - For more information see Create a service connection.
- Connection name:
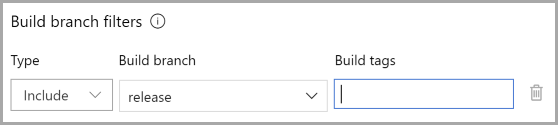
- Create a new release pipeline in the same way as before, but use continuous deployment trigger on the
releasebranch:
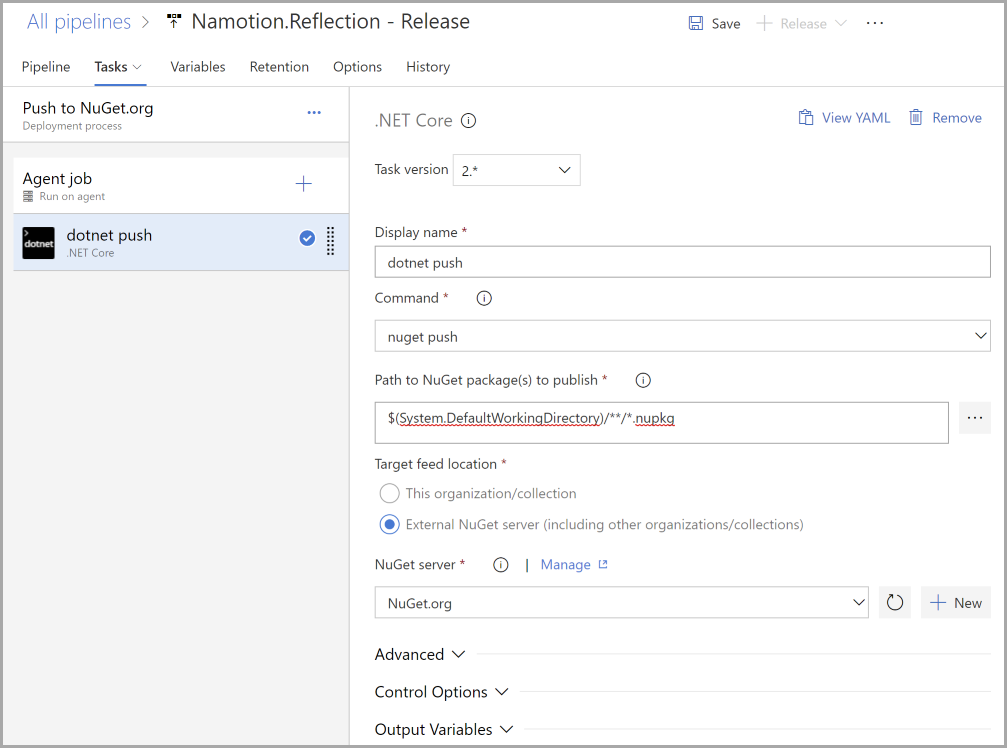
- Click on tasks and add a new .NET Core task with the following properties:
- Command:
nuget push - Path to NuGet package(s) to publish:
$(System.DefaultWorkingDirectory)/**/*.nupkg - Target feed location
- External NuGet server
- NuGet server: Select “NuGet.org” which is service connection which has been created before
- Command:
4. Test the pipelines
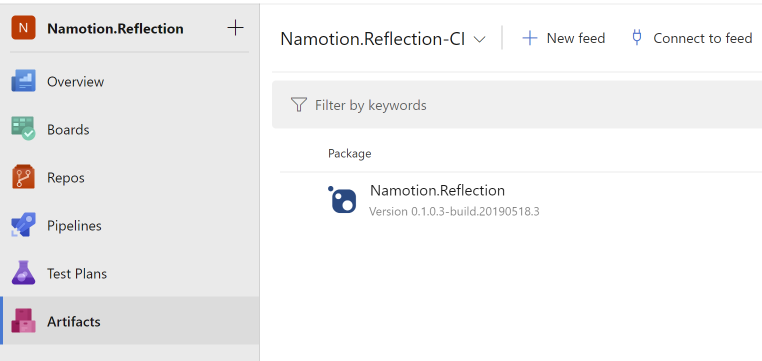
Now you should be able to queue a new build in the build pipeline. This build is then picked up by the preview release pipeline which pushes the packages to the preview NuGet feed:
5. Publish new package versions
To publish new package versions, you first need to update package versions in the .csproj. This can be easily accomplished with the DNT (DotNetTools) tool:
dnt bump-versions patch
Commit these changes to the master branch and merge master into the release branch to trigger the release pipeline which pushes the packages to NuGet.org.
Rico Suter
SOFTWARE ENGINEERING
EDIT
.NET C# GitHub Azure DevOps YAML Continuous Deployment Continuous Integration